50. 스프링 시큐리티 체험해보기
by 볼빵빵오춘기pom.xml
jsp에서 security 를 쓰기 위한 라이브러리
<!-- 시큐리티 태그 라이브러리 -->
<dependency>
    <groupId>org.springframework.security</groupId>
    <artifactId>spring-security-taglibs</artifactId>
</dependency>
spring-boot에서 security를 사용하기 위한 라이브러리
<dependency>
    <groupId>org.springframework.boot</groupId>
    <artifactId>spring-boot-starter-security</artifactId>
</dependency>
UserApiController
- 전통적인 방식의 로그인 방법 주석처리한다.
- HttpSession DI 주석처리한다.
// 전통적인 방식의 로그인 방법
//    @PostMapping("/api/user/login")
//    public ResponseDto<Integer> login(@RequestBody User user){
//        System.out.println("UserApiController login() 호출");
//        User principal = userService.로그인(user); // principal : 접근 주체
//
//        if(principal !=null){
//            session.setAttribute("principal",principal);
//        }
//
//        return new ResponseDto<Integer>(HttpStatus.OK.value(),1);
//    }
// @Autowired
// private HttpSession session;
실행해보기
url 에 localhost:8080 을 친다.
그러면 localhost:8080/login 으로 넘어가면서 아래와 같은 페이지가 나온다.
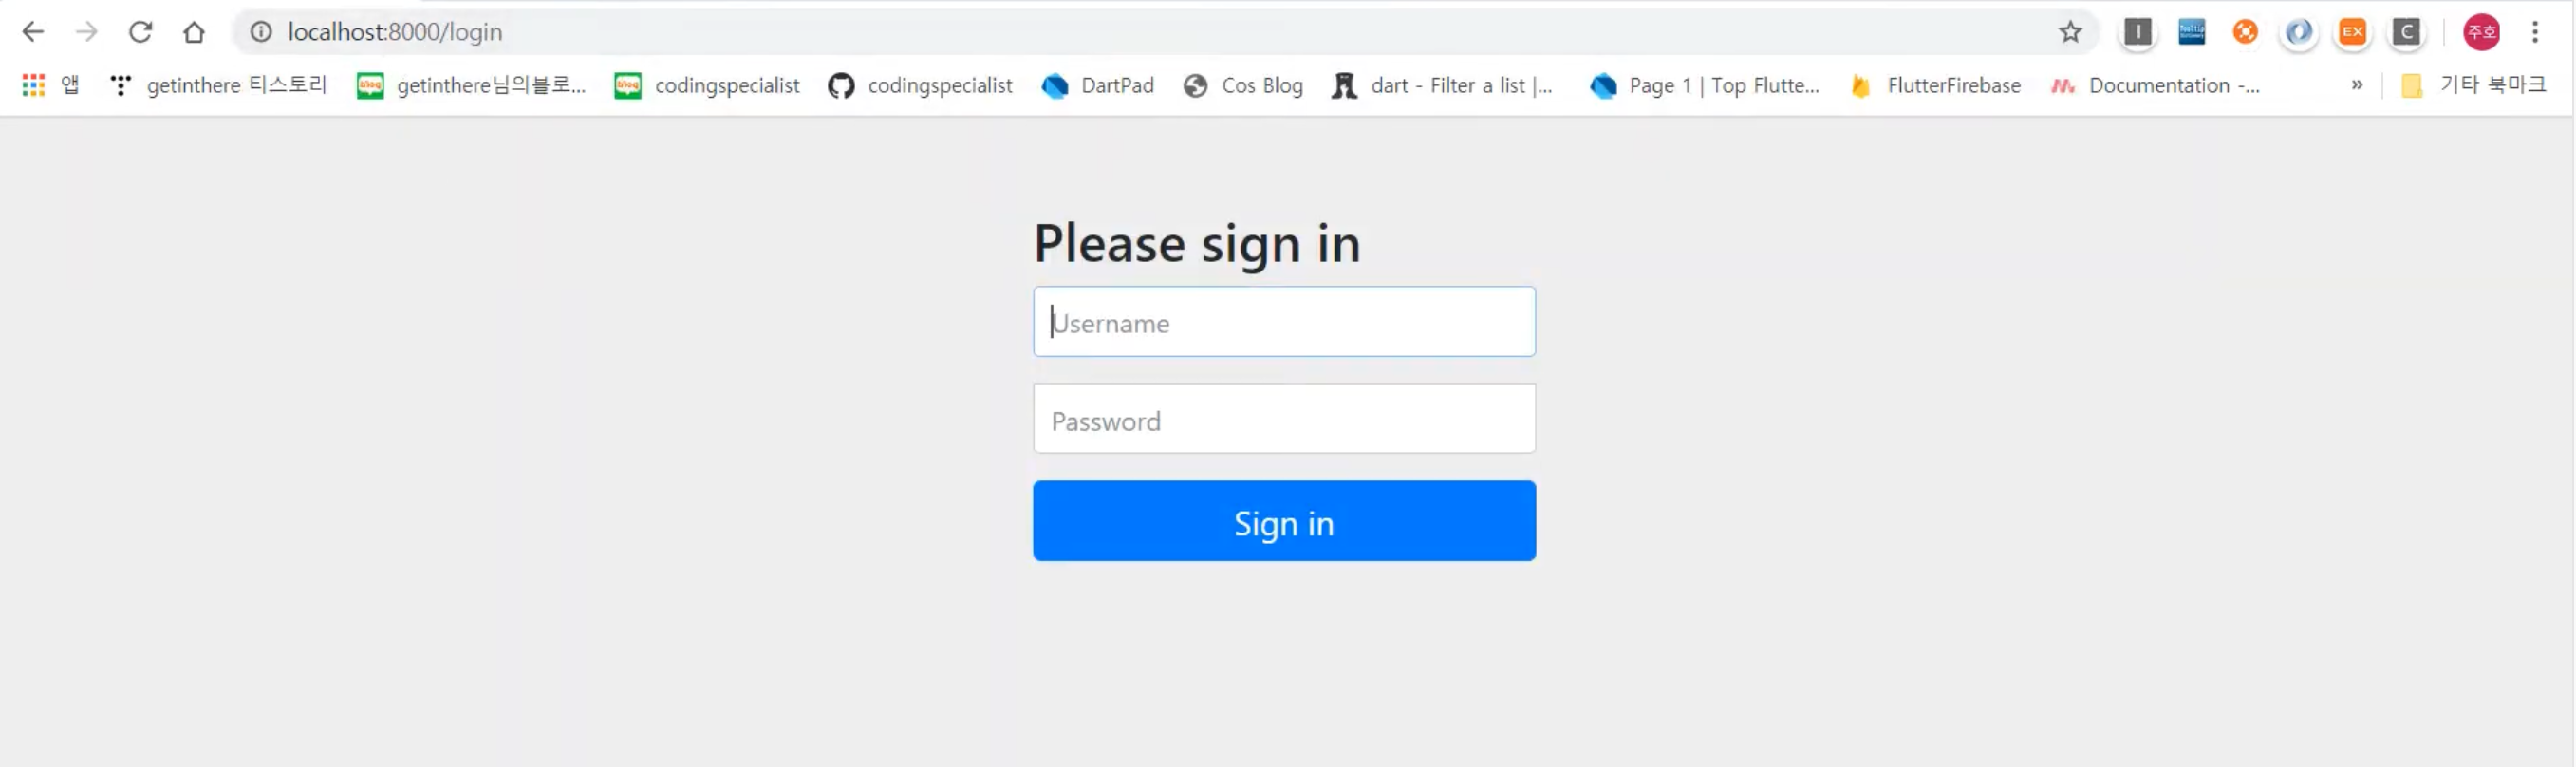
why? spring-boot에서 security를 사용하기 위한 라이브러리를 이용하면은 우리가 어느 페이지를 들어가든 security 가로채서 login화면으로 이동시킨다. 그러면 로그인할려면 id = user, password는 콘솔에 뜨는 비번을 복사하여 넣어야한다.

이 때 부터는 session이 자동으로 생성된다.
header.jsp
- google - spring security taglib 검색하여 spring security taglib를 header.jsp 상단에 추가한다.
<%@ taglib prefix="sec" uri="http://www.springframework.org/security/tags"%>
// spring security 라이브러리를 쓸 것이라는 것을 명시해준다.
// 아래는 설명 라이브러리에 어떤 걸 쓸건지 접근권한 등 propery 이름과 변수 이름
<sec:authorize access="isAuthenticated()"> // 인증이 되었는지 확인(로그인 됐는지 안됐는지 확인)
    <sec:authentication property="principal" var="principal" /> // 로긴정보를 principal로 가져올 수 있다.
</sec:authorize>- 기존 코드도 변경한다.
<c:choose>
<c:when test="${empty principal}">
'강의 따라하기 > blog' 카테고리의 다른 글
| 52. 비밀번호 해쉬 후 회원가입하기 (0) | 2024.01.03 |
|---|---|
| 51. 스프링시큐리티 로그인 페이지 커스터마이징 (0) | 2024.01.03 |
| 49. 시큐리티 시작전 요청 주소 변경 (0) | 2024.01.03 |
| 48. 전통적인 방식의 로그인 방법 (0) | 2024.01.03 |
| 46. 스프링의 전통적인 트랜잭션 (0) | 2024.01.03 |
블로그의 정보
Hello 춘기's world
볼빵빵오춘기